
Table of Contents
- Top Grooming Tools for Shedding Dogs Compared
- Slicker Brushes vs Deshedding Tools: What Works Best
- How Often to Brush a Shedding Dog
- Best Brush for Double Coated Dogs
- How to Reduce Dog Shedding at Home
- Ergonomics, Hygiene, and Desensitization Tips
- Frequently Asked Questions
Last Updated: September 29, 2026
Top Grooming Tools for Shedding Dogs Compared
The best grooming tools for shedding dogs remove loose undercoat hair before it lands on your floors, and the right pick depends on your dog's coat type, size, and tolerance for handling.
Most guides rank tools by popularity instead of matching them to coat texture.

| Tool | Best For | Coat Type | Key Strength |
|---|---|---|---|
| Slicker brush | Daily maintenance | Medium to long | Removes surface tangles |
| Undercoat rake | Heavy shedding | Double-coated | Reaches the undercoat |
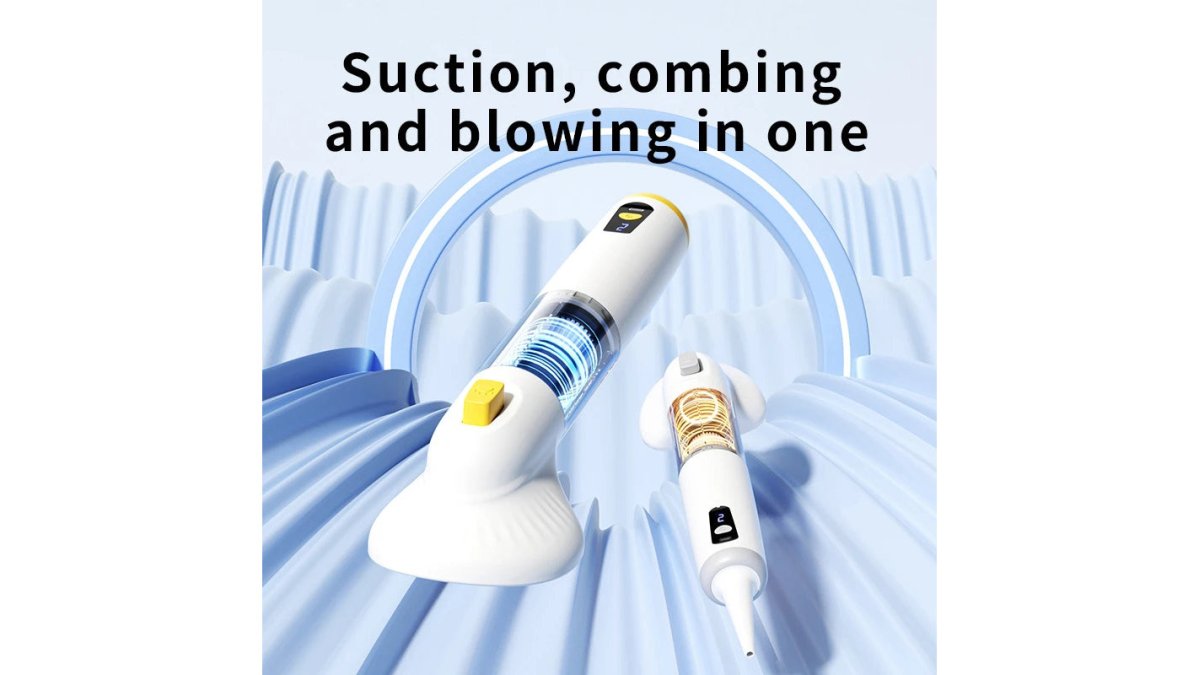
| Deshedding vacuum kit | All-in-one cleanup | Any density | Captures fur instantly |
| Grooming mitt | Sensitive dogs | Short to medium | Gentle, massage-like |
| Curry comb | Bath-time loosening | Short, smooth | Loosens dead hair fast |
Slicker Brushes vs Deshedding Tools: What Works Best
Slicker brushes and deshedding tools do different jobs, and most shedding dogs need both. A slicker handles surface debris, tangles, and topcoat maintenance; a deshedding tool reaches the undercoat where loose fur accumulates.
How Often to Brush a Shedding Dog
Brush a shedding dog daily during peak season and two to three times per week otherwise. Five-minute daily sessions beat one long weekly session.
Best Brush for Double Coated Dogs
The best brush for double-coated dogs is an undercoat rake, because it reaches beneath the topcoat to pull out dead undercoat hair without cutting the guard hairs. But a rake anchors a kit rather than replacing it: double coats shed their underlayer heavily twice a year, and no single tool handles every stage of that cycle.
| Tool | What it does | When to reach for it | Watch out for |
|---|---|---|---|
| Undercoat rake | Lifts loose undercoat without cutting guard hairs | Peak shedding, 2-3x per week | Pressing too hard can scratch skin |
| Slicker brush | Removes surface tangles and debris from the topcoat | Daily maintenance, after outdoor time | Does almost nothing for the undercoat |
| Deshedding blade | Strips large volumes of loose undercoat fast | Short bursts during blowout weeks | Overuse on the same spot can thin the coat |
| Grooming mitt | Gentle loosening and massage | Sensitive dogs, short sessions | Not enough reach for dense undercoats |
| Metal comb | Checks for missed tangles and mats | After every rake or blade session | Snags if you skip the rake first |
- Northern breeds (huskies, malamutes, Samoyeds): Dense, woolly undercoats that come out in clumps. A rake plus a deshedding blade during blowout, then daily slicker work the rest of the year.
- Herding breeds (German shepherds, collies): Longer guard hairs that tangle around the undercoat. Comb after every session or mats form at the haunches and behind the ears.
- Sporting breeds (golden retrievers, Labs): Water-resistant topcoat over a softer undercoat. Rakes work, but go lighter, the topcoat is easier to damage than a northern breed's.
- Wire-haired coats (terriers, schnauzers): These are not true double coats. A rake will do little; stripping or hand-stripping is the correct maintenance, and a slicker is for tidying only.
How to Reduce Dog Shedding at Home
Reducing shedding at home comes down to three habits: consistent brushing, proper nutrition, and a clean environment. You can't stop shedding, but you can control where the hair ends up.
Start with a routine:
- Brush daily during shedding season, two to three times weekly otherwise
- Bathe every four to six weeks to loosen dead hair (use a dog-specific shampoo)
- Vacuum floors and furniture at least twice a week
- Wash pet bedding weekly to remove trapped dander and fur
- Check with your vet if shedding suddenly increases, since it can signal a health issue
Ergonomics, Hygiene, and Desensitization Tips
Hand fatigue, tool hygiene, and a dog that panics at the sight of a brush are the three things most owners ignore until their wrists ache, their dog develops a skin reaction, or grooming becomes a wrestling match. Few top-ranking guides cover these in depth.
Proud Pet Shop Deshedding Vacuum Kit →
Ergonomics: design choices that actually reduce fatigue
Grooming a large double-coated dog can mean 15-20 minutes of repetitive wrist and forearm work per session, several times a week. The design features that matter most:
- Handle circumference: A grip that lets your fingers wrap with a small gap, roughly the width of a pencil, keeps your hand from cramping. Oversized handles force a wider grip and tire the forearm faster.
- Handle length: A longer handle on a rake or slicker gives you more leverage and lets you keep your wrist straighter. Short handles push you into a bent-wrist position that strains the carpal tunnel.
- Grip material: Rubberized or textured grips reduce the squeeze force needed to hold the tool. Smooth plastic handles require a tighter grip, especially once your hands get slick from handling a damp coat.
- Weight: A lighter tool is not always better. A very light rake makes you press harder to feel like you are doing something. A mid-weight tool with a balanced head does more of the work.
- Two-handed technique: For dense coats, hold the rake in your dominant hand and use your other hand to steady the dog and part the fur. This distributes the load instead of overworking one wrist.
Hygiene: cleaning tools so they don't reinfect the coat
Brushes and rakes collect fur, dander, skin cells, and sometimes yeast or bacteria, so a dirty tool can spread irritation across the dog or between pets. A simple routine:
- After every session: Pull trapped fur out of the bristles or teeth. For rakes and slickers, a metal comb or a wide-tooth comb run backward through the teeth clears debris fast.
- Weekly: Wash metal-toothed tools in warm water with a few drops of mild dish soap, scrub the teeth with an old toothbrush, rinse, and dry completely before storing. Moisture left on metal teeth can rust them and harbor bacteria.
- Mitts and soft brushes: These are harder to disinfect because of the fabric or rubber surface. Wash them in warm soapy water, rinse thoroughly, and let them air dry fully, a damp mitt stored in a drawer is a breeding ground for odor and bacteria.
- Between pets: If you groom more than one animal, clean the tool between dogs, especially if one has a skin condition. This is the single most overlooked step in multi-pet homes.
- Replace when worn: Slicker brush pins that have bent or lost their protective tips can scratch skin. Rake teeth that have splayed apart no longer reach the undercoat evenly. If a tool is visibly worn, it is doing more harm than good.
Desensitization: training a dog to accept grooming
The most common reason grooming fails isn't the tool, it's that the dog learned the brush means stress. Desensitization pairs each step with something the dog likes, usually treats, and moves slowly enough that the dog never gets pushed past its comfort zone.
A step-by-step protocol that most trainers use:
- Show the tool, don't use it. Let the dog sniff the brush. Reward with a treat. Repeat over a few days until the dog is neutral about seeing it.
- Touch without brushing. Rest the back of the brush against the dog's shoulder for one second, then treat and remove. Build up to a few seconds.
- One stroke, then treat. A single light stroke along the direction of the coat, then treat and stop. End the session on a win.
- Short sessions, frequent treats. Two to three minutes at a time, several times a day, beats one long session. Stop before the dog gets restless, not after.
- Pair with a high-value reward. Use something the dog only gets during grooming, a specific treat, a lick mat with peanut butter, or a favorite chew. This changes the association from "brush = stress" to "brush = the good thing."
- Work up to the hard spots. Paws, tail, and belly are usually the last areas a dog tolerates. Get the back and shoulders solid first.
Frequently Asked Questions
What is the most effective tool for shedding dog hair?
A deshedding vacuum kit that captures loose fur directly into a canister is the most effective for heavy shedders. It combines a gentle brush head with suction to remove dead hair without spreading dander. For double-coated breeds, an undercoat rake used weekly also works well. Pairing tools with regular brushing keeps shedding manageable and reduces cleanup.
Is it good to use a deshedding tool on a dog?
Yes, when used correctly. Deshedding tools remove loose undercoat without cutting the topcoat. Use gentle strokes in the direction of hair growth for 10-15 minutes, once or twice a week. Avoid pressing hard or overusing on sensitive skin. Stop if you notice redness or irritation. For dogs with skin issues, consult your vet before starting.
How often should you use a de-shedding tool on your dog?
Most dogs benefit from deshedding once or twice a week, but during seasonal shedding, daily sessions of 10 minutes can help. Double-coated breeds may need more frequent use in spring and fall. Always check your dog's comfort and adjust frequency based on how much loose fur you remove. Over-brushing can irritate skin, so monitor your dog's reaction.
What is the difference between a slicker brush and a de-shedding rake?
A slicker brush has fine wire bristles for removing surface debris and detangling. A de-shedding rake has longer, spaced teeth that reach the undercoat to pull out loose fur. Use a slicker for finishing and fluffing, and a rake for deep deshedding. For double-coated dogs, start with a rake, then follow with a slicker to smooth the topcoat.